Sometimes it's fun to turn the ordinary into something a little more fun. One of the ways I have started doing this is to make our regular walks into scavenger hunts! I came across the idea on another blog and as usual can't remember where (I need to start noting these things!).
To make one in Publisher just go to "Table," then "Insert," put as many columns and rows as you want. Insert clip art of whichever pictures you want. Lastly create word boxes, choose your font and put the corresponding words by the pictures.
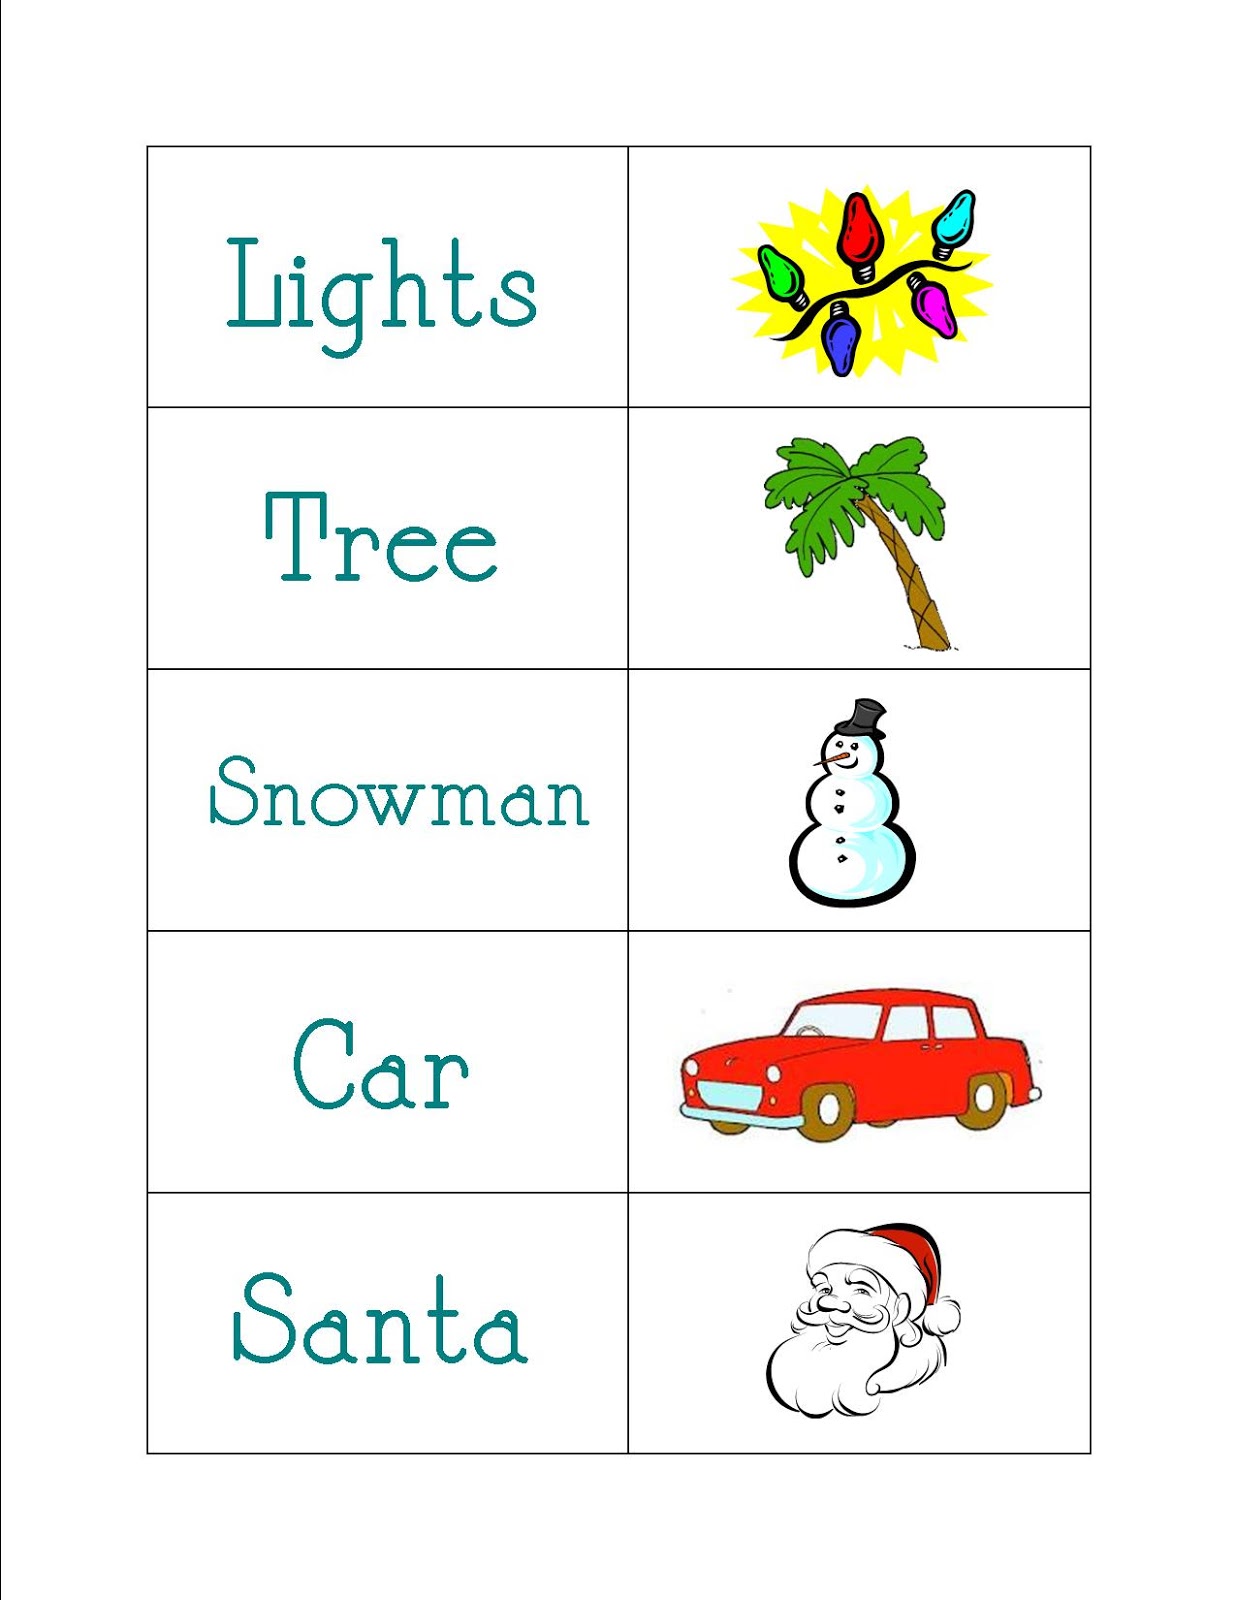
I choose things I know we will come across and making them seasonal is extra fun. It's a good idea to print them on card stock to make it a bit sturdier since a toddler will be manhandling it but you could also put it in a page protector. We simply look for the objects and get very excited and cheer when we find them. Next I will be making one that will be for listening. It will have a dog, airplane, car, bird, and I'm not sure what else.
Happy hunting!
Thursday, December 13, 2012
Monday, October 15, 2012
DIY: Adorable $2 Garland
I made these adorable garland for just $2 using a hole punch and twine that I already had and 2 packages of die cuts from the Target Dollar Bins!
How to do it:
1. Decide where it will go and how many swags you want (this area was about 6 ft wide, so if you have a smaller space you could use one package or less of each instead of all).
2. Divide the packages into the number of swags you are making. There were 9 die cuts in each package and I was making 3 swags so I needed 6 die cuts per swag. This helps you space them out evenly.
3. Use a hole punch and put 2 holes in each die cut where ever you want it to hang from. I did random angles and some leaves upside down to mix it up.
4. Thread them onto the twine.
5. Hang the garland! I used tacks.
You could just wing it and punch all the holes and randomly thread them on, then hang. That would've driven me batty but I know others who could do it :)
Here is a closer look at each of the three sections. I LOVE the glitter on the leaves (though it doesn't really show in these pics)!
You could also use ribbon or yarn to thread it.
I really hope Target makes cute Christmas die cuts!!!
Thursday, September 20, 2012
Fall Is Here!
It's time! Time for pumpkins and cooler air, fake fall leaves and cider candles, cinnamon and nutmeg! Fall is here! I considered making a Fall Fun List of activities I would like to do with my family like I did for Summer but then decided I would rather shake it up and make a different kind of list So here is the list of treats I hope to get made before the Christmas baking arrives!
Only problem is my hubby doesn't eat sweets so I always have to find ways to unload it all. Also there are only 9 weeks until Thanksgiving and there are 13 items on the list. Yikes! Now I'm off to check expiration dates on the spices - only the best will do!
P.S. the asterix are for the recipes I have not tried yet.
Thursday, September 13, 2012
More Cheap Art
A few posts back I told you how I made this lovely piece of art for $1.
I have now turned that into this . . .
Again I was a bad DIY blogger and forgot to take pics of the process. It was too simple to even bother taking pictures! Here is what I did.
1. The alphabet "art", inspired by Pinterest, was made in Microsoft Publisher but you could easily use Word as well. Just type out the alphabet, center it, find a font you like (I used Elephant) and make it whatever color matches your theme with the "I", "heart", and "u" in an alternating color. Figure out the right size for your font so that it takes up most of the page. Helpful hint: make sure the "I" is three letters from the end of the row, the heart two letters from the end of the next row, and the "U" on the end of the next row. This makes the nice stair step effect. When you have it set to your satisfaction print it. I recommend card stock but if you don't have any regular paper works fine.
2. For the matte all I did was take a spare piece of poster board, trace the glass from the frame on it for the right size, cut it down and spray paint it. It took two light coats.
3. I let the poster board dry over night then used scrapbook sticky squares to attach the paper to the matte. Glue or tape could also work.
What did it cost? $00.00 That's right, nothing! I had everything on hand and that made me so very happy! The possibilities are endless. As much as I love it I am already dreaming of fall and Christmas ideas for that wonderful little frame :)
Friday, August 17, 2012
Bath Time Fun
Tonight I created a fun new "toy" for the kiddos bath time. I'm sure it's probably out there somewhere in blogland but I haven't seen it yet. So here is a fun new idea!
Squirt gun + bath paint + a little water = FUN!
Pour the bath paint in the squirt gun, add a little water, shake
well and have a blast!
I could see this being really fun in the yard as well. Nice thing about the paint is that it makes a
nice foamy paint that’s easy to squirt, cleans up super easy and doesn’t stain
(at least the kind we have doesn’t)!
Friday, June 1, 2012
June Menu
I've been planning weekly menus for several years now and finally decided it was time to step it up. So here is my first shot at a monthly menu! Much of it stays the same week to week to make things easier and keep costs down. Next I need to add fish back into our diet and throw in a few salads for dinner!
Monday, May 28, 2012
Cheapo Art
I'm not usually one to decorate for Fourth of July. When it comes to making purchases I am getting more and more picky, if it doesn't make me smile when I see it and then smile some more when I think of it then I don't want to spend money on it. With patriotic decor I like a lot of it but it doesn't really fit with my home so I pass. Well, as I was strolling through the Dollar Tree the other day I saw a cute gift bag that made me smile. I love gift bags. I often think they should be art and want to use them as such. Last Christmas I finally did so and I decided it was time to try it again.
Here is what I did.... Got an old frame out of the garage (I tend to collect them from yard sales and thrift stores) and spray painted it and its matte white, not full coverage because I wanted a bit of a worn look. Next I cut the front off the gift bag and taped it to the top of the matte. Put the glass and matte in the frame and voilla! One dollar and I have a cute, patriotic work of art.
Subscribe to:
Posts (Atom)